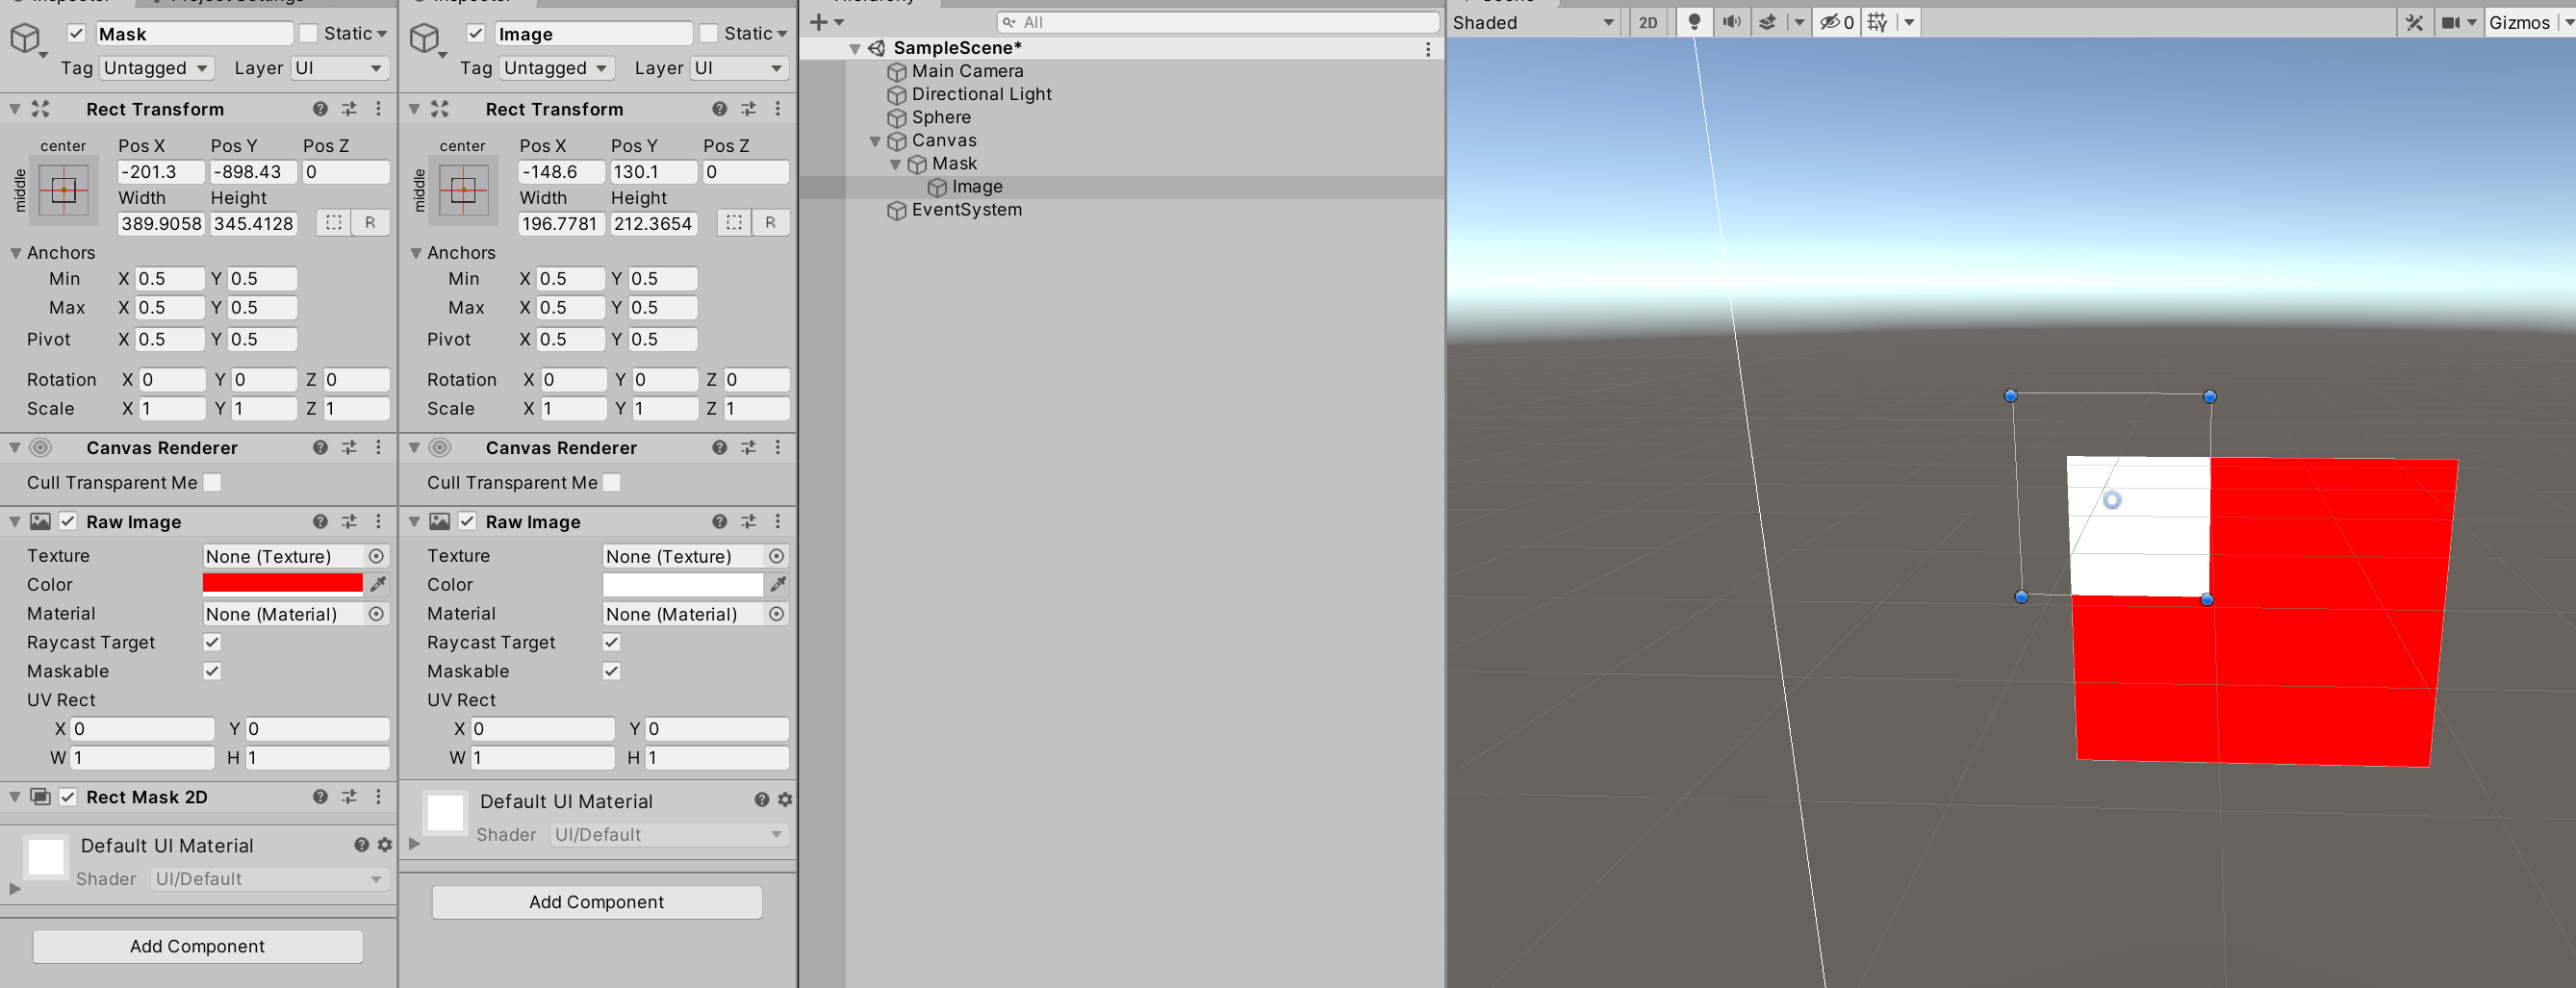
The RawImagecomponent should work with masks just like your normal Image component does. Granted that the checkmark Maskable is ticked.
Note that the Mask or rect Mask 2D should be the parent of the (raw)images you are trying to mask. The hierarchy should be something like this:
Canvas<br>
   | MaskObject (Contains (Raw)Image and Mask or Rect Mask 2d components)
       | Object to mask (Contains the (raw)image to mask)
 Notice how the white square (Image) gets cut off by the red square (Mask).
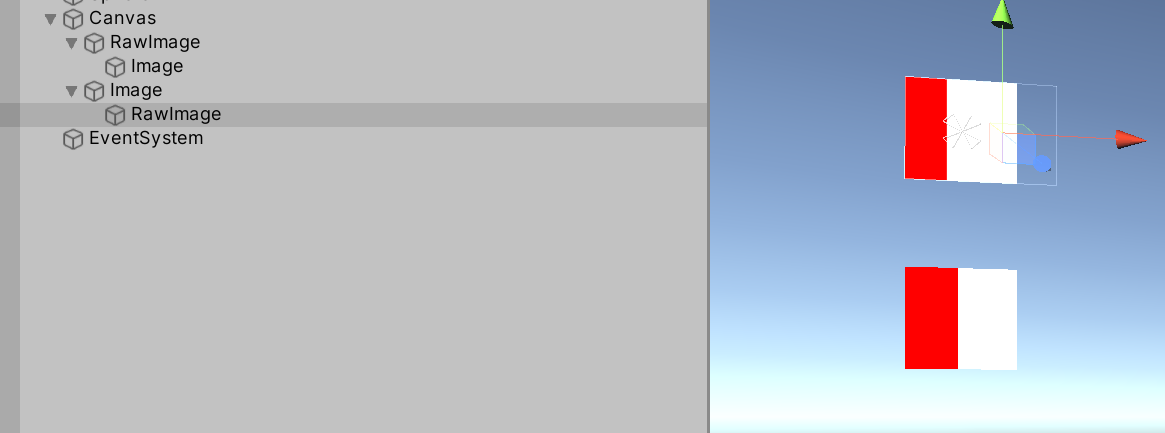
The component types between the masking image and the masked image do not need to match either. A RawImage can mask an Image and vice versa.
 The Masking objects are again shown in red, where the white are the masked objects. The GameObject's names show the used (raw)image component for that gameobject.
The only exception is the SpriteMask which exclusively works with the Sprite Renderer component
There is not much explanation from Unity on masks... This being the closest to an explanation there is
Some more info about masks:
Masks work by comparing the ref(erence) values of the stencil buffers of the two (or more) objects (in this case images) and only drawing the pixels where the stencil buffer for both equals to 1 using the Stencil's Comp(arison) function. Meaning it is possible to create your own implementation of masks by creating a shader and implementing the Stencil buffer, this comes in handy when for example you want something like an inversed mask, where pixels are drawn everywhere except where the mask is (creating holes in an image) :)


